Table of Contents
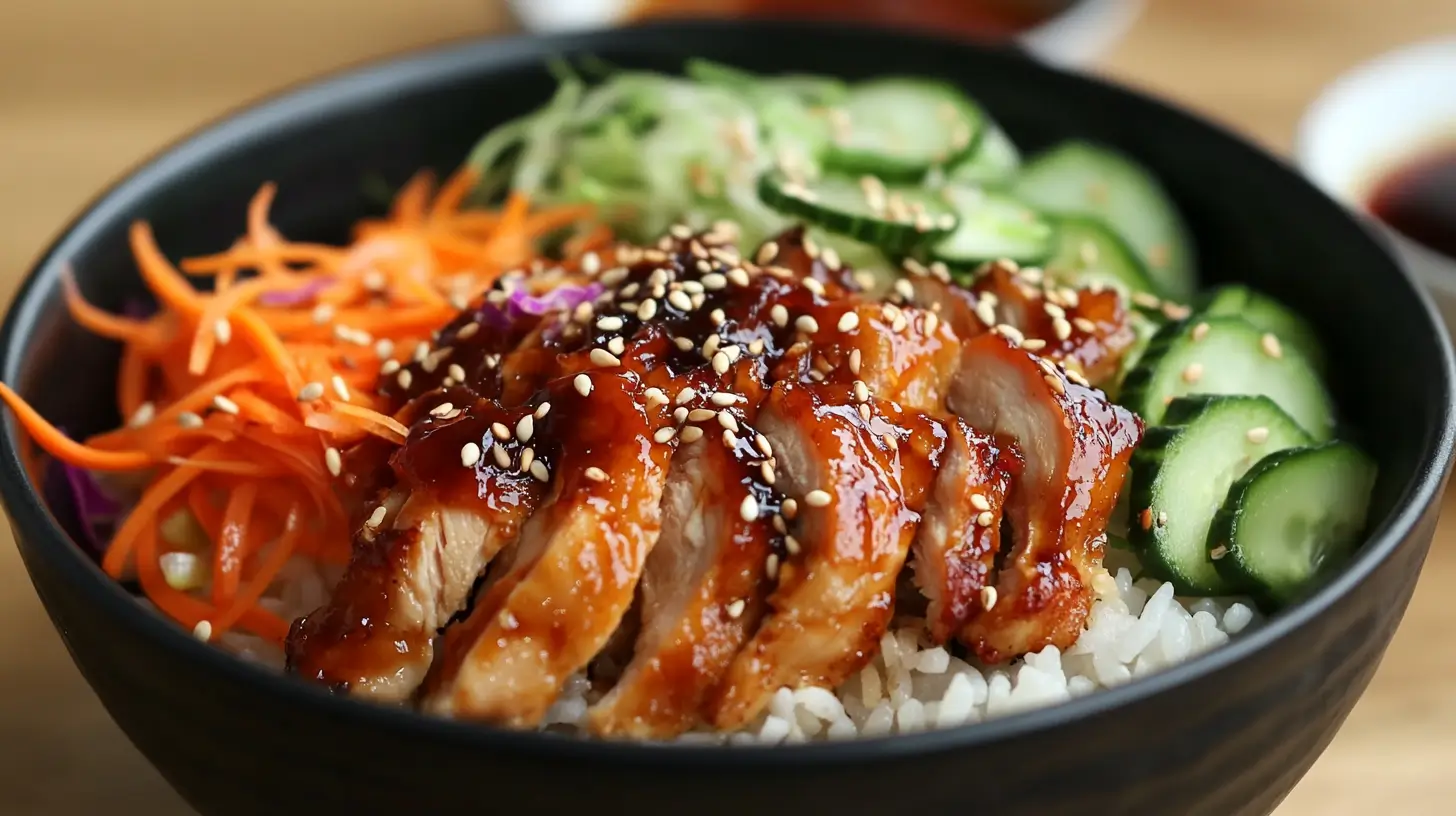
If you love Bibibop’s famous chicken, then this Bibibop Copycat Chicken Recipe Easy version is going to be your new favorite! It’s packed with bold, savory, and slightly sweet flavors, just like the original, but made right in your own kitchen. This easy homemade Bibibop chicken is marinated in a perfect blend of soy sauce, sesame oil, garlic, ginger, and a touch of sweetness, creating juicy, flavorful chicken that’s perfect for rice bowls, wraps, or salads.
The best part? This Bibibop Copycat Chicken Recipe Easy is quick to prepare, meal-prep friendly, and better than takeout! Whether you’re looking for a healthy weeknight dinner or a flavor-packed lunch option, this recipe delivers every time. Plus, it’s customizable—pair it with fresh veggies, sauces, and your favorite grains for a restaurant-quality meal at home.
Trust me, once you try this, you’ll never need takeout again!
If you like to prepare meals at home, you will also enjoy my delicious flavors!
Why You’ll Love This Bibibop Copycat Chicken Recipe Easy
- Easy & Quick to Make – This Bibibop Copycat Chicken Recipe Easy comes together in no time with simple ingredients, making it perfect for busy weeknights.
- Better Than Takeout – Skip the restaurant and enjoy juicy, flavorful chicken right at home with a perfectly balanced marinade that’s sweet, savory, and packed with umami.
- Authentic Bibibop Flavor – This recipe mimics the iconic Bibibop chicken with its soy sauce, sesame oil, garlic, and ginger-infused marinade, giving you the same bold and delicious taste.
- Versatile & Customizable – Serve this easy Bibibop chicken over rice, in wraps, or with fresh veggies to create your own Bibibop-style bowl with your favorite toppings and sauces.
- Perfect for Meal Prep – Make a batch ahead of time and enjoy quick, protein-packed meals throughout the week. It stores well and reheats beautifully.
- Healthier Homemade Alternative – This Bibibop Copycat Chicken Recipe Easy lets you control the ingredients, avoiding excess sodium, oils, or preservatives found in fast food.
- Great for the Whole Family – Whether you like it mild or spicy, this recipe is kid-friendly, delicious, and easily adjustable to fit everyone’s taste.
Trust me, once you try this homemade Bibibop chicken, you’ll never look at takeout the same way again!
Ingredients for Bibibop Copycat Chicken Recipe Easy

Gather these simple ingredients to recreate that signature Bibibop chicken flavor:
- Chicken Thighs or Breast – Juicy and flavorful, perfect for soaking up the marinade.
- Soy Sauce – Brings umami depth and saltiness to the marinade.
- Sesame Oil – Adds a rich, nutty aroma.
- Brown Sugar or Honey – Balances the salty and savory flavors with a hint of sweetness.
- Garlic – Freshly minced for a bold, aromatic kick.
- Ginger – Adds warmth and a slight peppery spice.
- Rice Vinegar – Gives the marinade a mild tangy note.
- Cornstarch – Helps create a beautiful caramelized glaze when cooking.
- A light drizzle of vegetable oil is key for searing chicken until it boasts a beautifully crisp, golden-brown exterior..
- Green Onions & Sesame Seeds – Optional garnishes for extra freshness and crunch.
The ingredients with measurements will be listed right under the article in the recipe card.
How to Make Bibibop Copycat Chicken Recipe Easy:
Step 1: Marinate the Chicken
In a bowl, whisk together soy sauce, sesame oil, brown sugar, garlic, ginger, and rice vinegar. Add the chicken and let it marinate for at least 30 minutes (or overnight for maximum flavor).
Step 2: Heat the Pan
Begin by heating a generous amount of vegetable oil in a large skillet over medium-high heat until it shimmers. Then, carefully lift the chicken from its marinade and allow any extra liquid to drip off.
Step 3: Cook the Chicken
Place the chicken in the pan and cook for 4-5 minutes per side until golden brown and fully cooked.
Step 4: Caramelize the Sauce
Sprinkle a little cornstarch over the chicken while cooking to help create a sticky, flavorful glaze.
Step 5: Rest and Slice
Let the Bibibop Copycat Chicken Recipe Easy rest before slicing. Finish the dish by topping it with a sprinkle of green onions and toasted sesame seeds to boost its flavor.
Pro Tips for the Best Bibibop Copycat Chicken Recipe Easy
- For Extra Juicy Chicken – Use boneless, skinless chicken thighs instead of breast meat.
- Let It Marinate – The longer the chicken soaks in the marinade, the better the flavor. Overnight is best!
- Use a Hot Pan – A well-heated pan gives you that perfect caramelized crust on the chicken.
- Double the Sauce – If you love extra sauce, set some marinade aside before adding the raw chicken and use it as a drizzle later!
How to Serve Bibibop Copycat Chicken Recipe Easy:
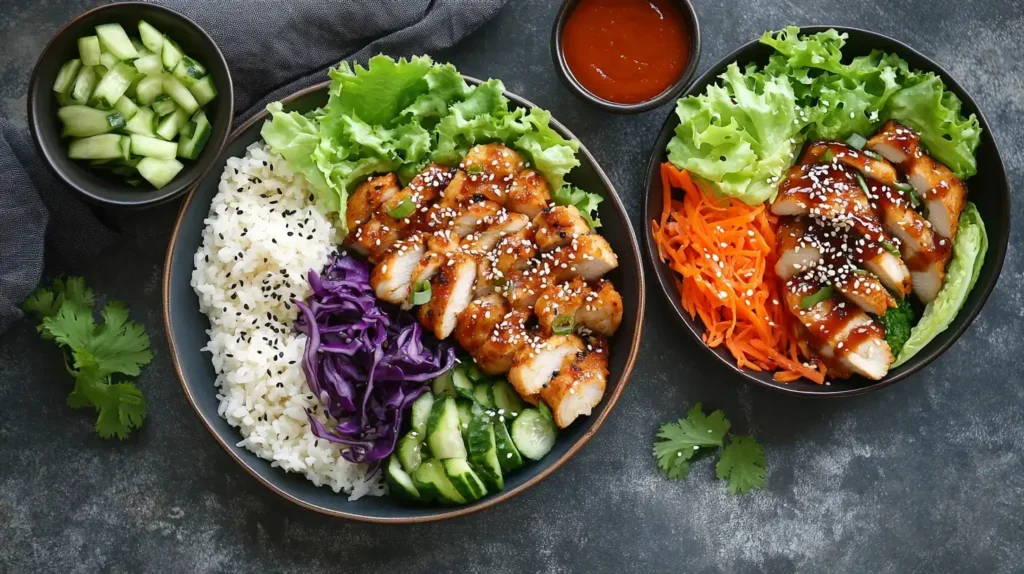
This chicken is delicious in so many ways! Here are some tasty serving ideas:
- Bibibop-Style Bowl – Serve over steamed white or brown rice with veggies like carrots, cucumbers, and cabbage.
- Lettuce Wraps – Wrap the chicken in crisp lettuce with a drizzle of spicy mayo.
- Stir-Fry – Toss with sautéed vegetables and serve over noodles.
- Tacos or Wraps – Use warm tortillas or pita bread for a fun twist!
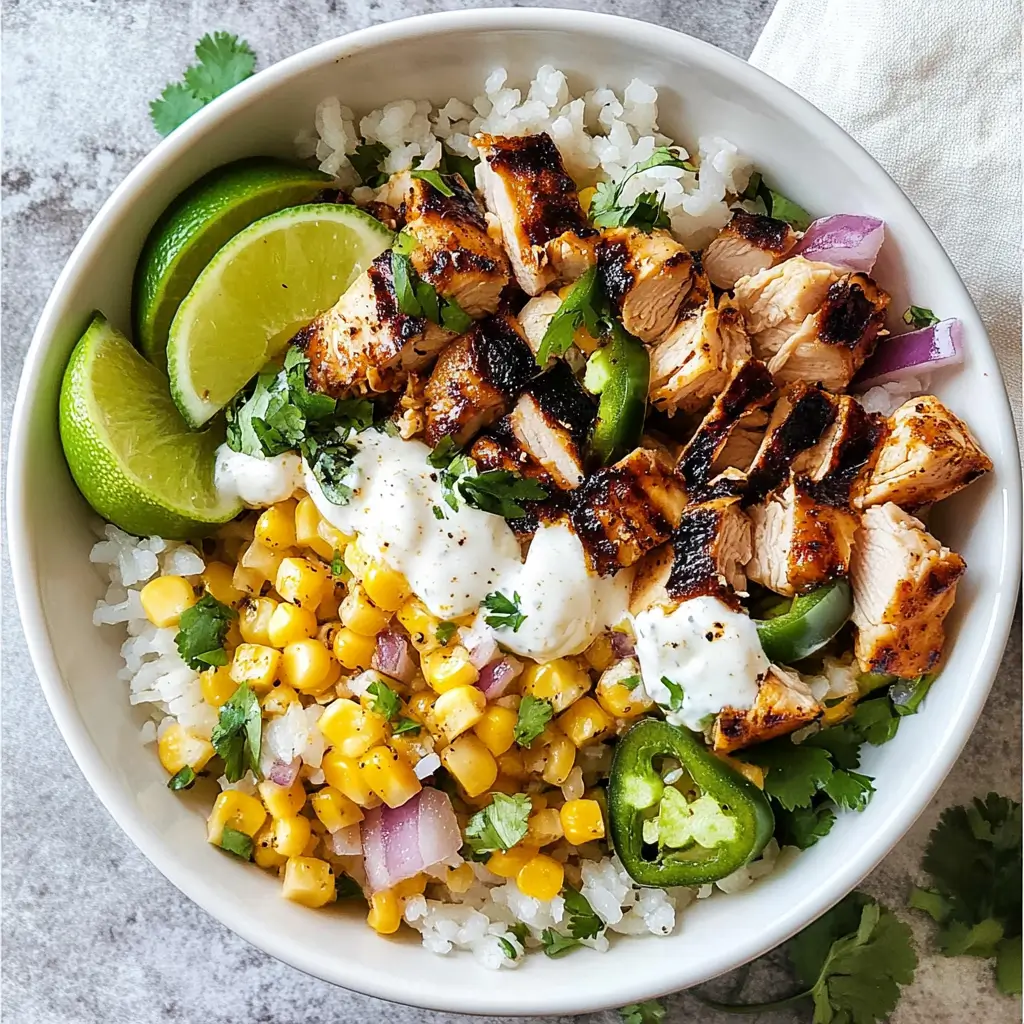
If you enjoy making flavor-packed homemade meals, you’ll love trying more delicious recipes! Whether you’re craving something savory, spicy, or comforting, there’s always a dish to satisfy your taste buds. For more inspiration, check out my Chicken Cheese and Rice Mexican, a must-try that brings bold flavors right to your kitchen!
Make Ahead and Storage for Bibibop Copycat Chicken Recipe Easy
Storing Leftovers
Transfer any remaining portions into a tightly sealed container and refrigerate; they’ll keep safely for up to four days.
Freezing
Place the cooked chicken into a container designed for freezer storage, and freeze it for up to three months.
Thaw in the fridge before reheating.
Reheating
Reheat the chicken by either warming it in a skillet over medium heat or using the microwave in 30-second bursts until it is completely heated through.
FAQs About Bibibop Copycat Chicken Recipe Easy
Can I use chicken breast instead of thighs?
Yes! While chicken thighs are juicier, you can absolutely use chicken breast in this Bibibop Copycat Chicken Recipe Easy. If using chicken breast, be careful not to overcook it, as it can dry out. To keep it tender, try pounding the chicken to an even thickness before marinating and cooking.
How can I make this dish spicier?
If you love heat, there are several ways to amp up the spice in this dish:
- Add sriracha, gochujang (Korean chili paste), or chili garlic sauce to the marinade.
- During cooking, add a pinch of red pepper flakes or a dash of cayenne pepper for a bit of extra heat.
- Serve the dish with a drizzle of spicy mayo or chili oil for extra heat at the table.
Can I bake the chicken instead of pan-frying?
Yes! If you prefer baking over pan-frying, here’s how to cook this Bibibop Copycat Chicken Recipe Easy in the oven:
- Preheat your oven to 375°F (190°C).
- Place marinated chicken on a baking sheet lined with parchment paper or a greased rack.
- Bake for 20-25 minutes (for boneless, skinless chicken) or until the internal temperature reaches 165°F (75°C).
- For a caramelized glaze, broil the chicken for an extra 2-3 minutes at the end.
What toppings go well with Bibibop chicken?
The fun part of this dish is customizing it! Here are some great toppings to recreate the full Bibibop bowl experience:
- Shredded carrots & cucumbers – Add freshness and crunch.
- Pickled radish or kimchi – Brings a tangy, slightly spicy kick.
- Avocado slices – For a creamy contrast.
- Cabbage slaw – Adds crisp texture.
- Spicy mayo or yum yum sauce – A drizzle of creamy, slightly spicy goodness takes it to the next level.
- Sesame seeds & green onions – Classic garnish for extra flavor.
How long should I marinate the chicken?
For the best flavor, marinate the chicken for at least 30 minutes, but if you have time, overnight is ideal. The longer it sits, the deeper the flavors penetrate into the meat. If you’re in a hurry, even 15 minutes will still add great flavor!
Can I grill the chicken instead?
Absolutely! Grilling adds an extra smoky flavor to this Bibibop Copycat Chicken Recipe Easy. Follow these steps:
- Preheat the grill to medium-high heat (about 375-400°F).
- Oil the grates to prevent sticking.
- Place the chicken on the grill and cook it for about 5 to 7 minutes on each side, ensuring it reaches full doneness.
- Let it rest for 5 minutes, then slice and serve!
Final Thoughts on Bibibop Copycat Chicken Recipe Easy
This Bibibop Copycat Chicken Recipe Easy is a game-changer for anyone who loves bold, savory, and slightly sweet flavors but wants a homemade version that’s just as delicious as the original. The perfectly marinated chicken, seared to caramelized perfection, delivers the same Asian-inspired flavors you crave—without the takeout price tag. Whether you’re making a Bibibop-style rice bowl, wrapping it in a tortilla, or serving it with fresh veggies, this easy homemade Bibibop chicken is guaranteed to satisfy.
What makes this Bibibop Copycat Chicken Recipe Easy so special? It’s quick to prepare, meal-prep friendly, and completely customizable. You can pair it with your favorite grains, add some crunch with fresh veggies, and drizzle on your favorite sauces for a restaurant-quality meal at home. Plus, with simple ingredients and a foolproof cooking method, you’ll get juicy, flavorful chicken every single time.
Skip the takeout line and give this easy Bibibop chicken recipe a try. Whether you’re meal-prepping for the week or whipping up a quick, healthy dinner, this recipe is sure to become a household favorite. Trust me, once you taste this, you’ll never go back to takeout!
Print
Bibibop Copycat Chicken Recipe Easy – 5 Simple Steps
- Total Time: 30 minutes
- Yield: 4 servings 1x
- Diet: Gluten Free
Description
Enjoy a healthy twist on a popular bowl restaurant favorite with this easy Bibibop Copycat Chicken recipe. Tender chicken is marinated in an Asian-inspired blend, then grilled to perfection—ideal for topping your favorite bowl or salad.
Ingredients
Marinade:
- 1/4 cup soy sauce (use tamari for gluten-free)
- 2 tablespoons sesame oil
- 2 tablespoons rice vinegar
- 1 tablespoon honey
- 3 cloves garlic, minced
- 1 teaspoon freshly grated ginger
- 1/2 teaspoon black pepper
Chicken:
- 4 boneless, skinless chicken breasts
Garnish:
- 1 tablespoon sesame seeds
- 2 green onions, thinly sliced
Instructions
Marinate Chicken:
In a bowl, whisk together the soy sauce, sesame oil, rice vinegar, honey, garlic, ginger, and black pepper. Add the chicken breasts, ensuring they are evenly coated. Cover and refrigerate for at least 30 minutes (up to 2 hours) to let the flavors infuse.Preheat Grill or Skillet:
Heat your grill or skillet over medium-high heat until hot.Cook Chicken:
Remove the chicken from the marinade, allowing any excess to drip off. Grill or pan-sear the chicken for 6-8 minutes per side, or until the internal temperature reaches 165°F (74°C).Rest and Slice:
Transfer the chicken to a cutting board and let it rest for 5 minutes. Then, slice it into strips.Serve:
Arrange the sliced chicken atop your bowl of choice—whether it’s rice, greens, or mixed veggies. Finish with a sprinkle of sesame seeds and green onions for added flavor and crunch.
Notes
For an extra layer of flavor reminiscent of the original Bibibop experience, drizzle a small amount of Sriracha mayo or add a dash of toasted seaweed to your bowl. Experiment with additional ingredients like miso paste in the marinade for a deeper umami taste.
- Prep Time: 15 minutes
- Cook Time: 15 minutes
- Category: Main Course
- Method: Grilling
- Cuisine: Asian
Nutrition
- Serving Size: 150g
- Calories: 250g
- Sugar: 5g
- Sodium: 600mg
- Fat: 8g
- Saturated Fat: 2g
- Unsaturated Fat: 6g
- Trans Fat: 0g
- Carbohydrates: 10g
- Fiber: 1g
- Protein: 30g
- Cholesterol: 75mg
Keywords: Bibibop, Copycat, Chicken, Easy, Grilled Chicken, Asian, Healthy, Marinated Chicken

